We’re back! Happy Halloween everyone! For this week I made gluten free sugar cookies with buttercream frosting.
Before we get into how I made them, my mental stae this week has been fairly decent and mostly stable. School of course has been the most stressful for me recently as there have been a lot of diferent things do all at once. However, I have been using many diferent ways to reduce my stress and anxiety and baking has been a very effective tool.
To start off, here is a link to the recipe I got off of allrecipies.com.
https://www.allrecipes.com/recipe/240496/gluten-free-sugar-cookies/
Now, to start off, I had never done gluten free baking before, but I thought since a couple people in our class can’t have gluten, I’d try my hand at something they could eat! My first step was going to the grocery store to find some gluten free flour, and get the few othe ringredients I did not yet have in my house. The first step for making the dough was to mix the flour, baking powder and salt together. Then to cream the sugar in with the butter and mix in some vanilla extract.
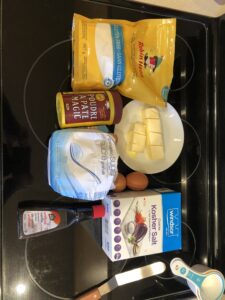
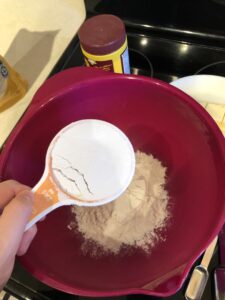


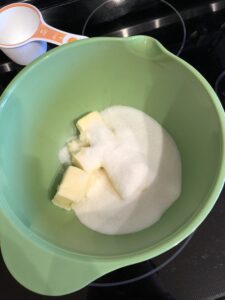
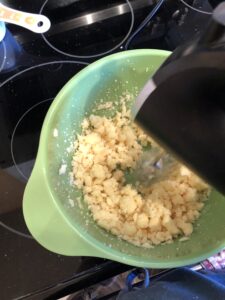
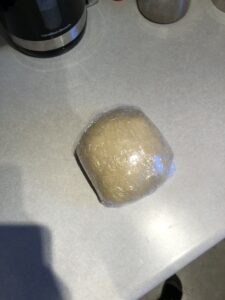
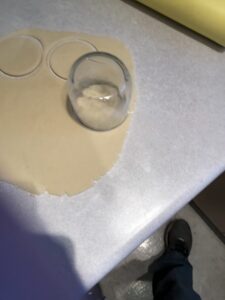
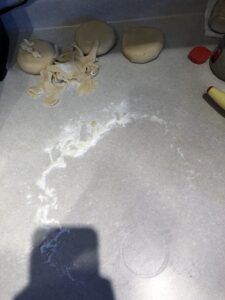
After this, the two eggs are mixed in one at a time until smooth. The wet and dry ingredients are then combined/ The though is then formed into a ball, wrapped in saran wrap and placed in the fridge for at least an hour. This gave me the time to go out and purchase the cream cheese I forgot to get for the icing. After an hour has passed, I took the dough out of the fridge and cut it into four sections and left it on the counter to warm up a bit. Afer it was warmed, I pre-heated the oven to 325°F and rolled the dough on the counter and cut the cookies, then placed them on a baking sheet and out into the oven for around 10 minutes, or until the edges of the cookies begin to brown.
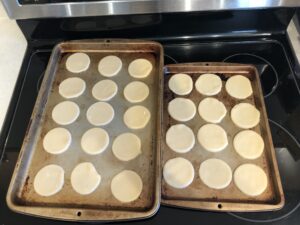
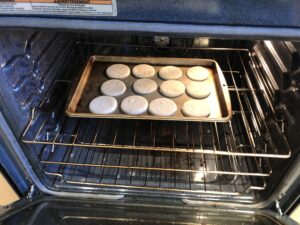
Once they are done, I took the pan out of the oven and left them to cool for a couple minutes as they would fall apart if I tried to take them off right away. After cooled slightly, the cookies are removed from the sheet adn placed on a wire rack to cool completely. While cooling, I started to make the icing. I used my stand mixer for this. I mixed the cream cheese, butter and vanilla until smooth, then beat in the confectioners sugar. Once this was mixed completely and I was happy with the taste, to make the cookies fit the halloween theme I dyed the buttercream orange with red and yellow food colouring.
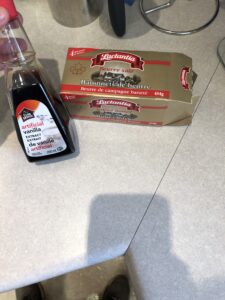
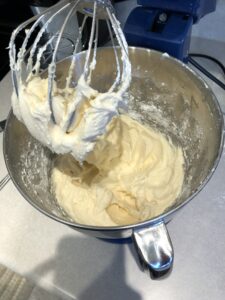
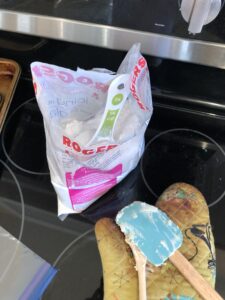
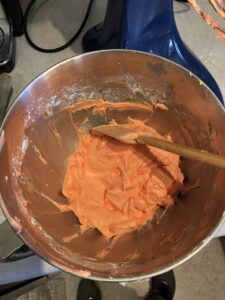
Once the icing was ready I then put it on some ofthe cookies! They looked good, and let me tell you, they were delicious!
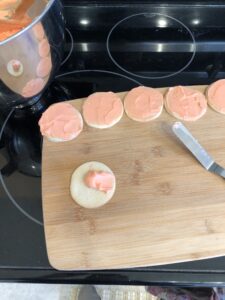
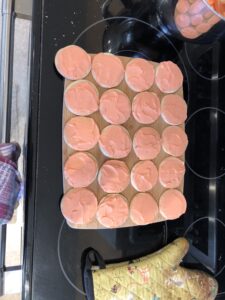
Thanks for reading! Tune in next week for another tasty treat!
Hi Matthew!
Wow those cookies look amazing! I really like how you add a step to step process on how to make them, It makes the recipe really easy to follow! If I had more time I would definitely try this recipe out! I’m glad you are felling good this week, school can get really stressful and it is important not to get stuck in a rut of homework.