Author: matthewd (Page 1 of 2)

Maple Pound Cake!

Hey everyone, last baking post! I know! so sad. But hey, feelings aside I had a lot of fun these past weeks sharing with you not only a passion of mine, but also the actual things I baked when I could.

You all know the drill, mental health check in time!
This past week has been fun, sad and stressful all at once. Only being able to see you guys for another week before we all say goodbye for a bit is sad. So that has been on my mind a little bit throughout this, but I am still looking forward to seeing you all again in the new year!
Finally, before I get into the baking, I wanted to thank you all once again for being open to try the baked goods I brought in. It really helped motivate me to show up many Monday mornings when I may have felt too tired or down to want to show up.

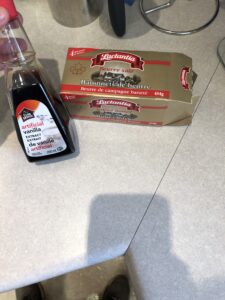
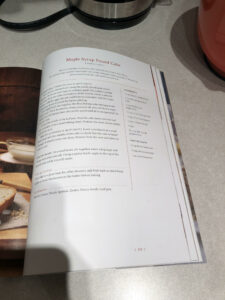
Now! For the maple pound cake! On Saturday the 27th I got the chance to go to Bolen Books at hillside mall and meet Bruno Feldeisen, one of the hosts and judges on The Great Canadian Baking Show. There he did a book signing and I was able to get him to sign a copy of his new cookbook, where I got the maple pound cake from.

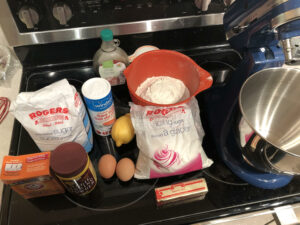
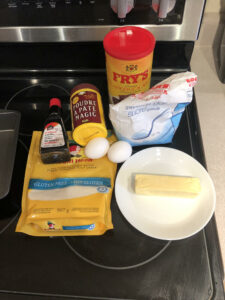
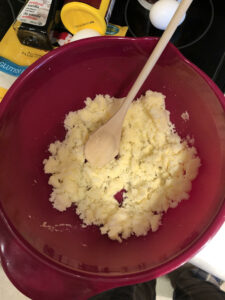
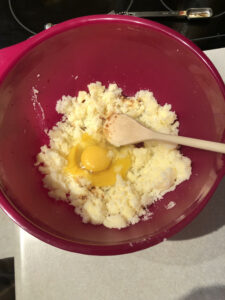
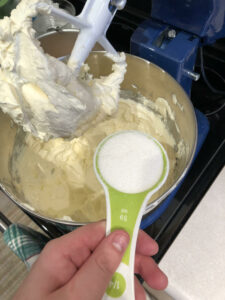
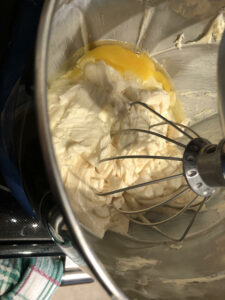
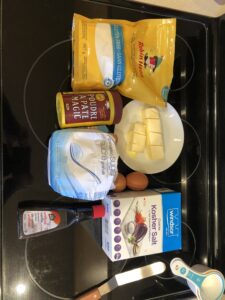
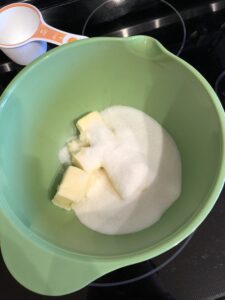
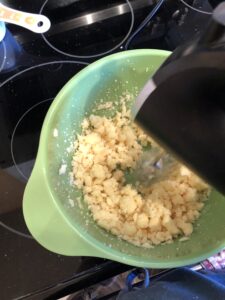
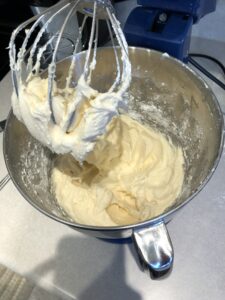
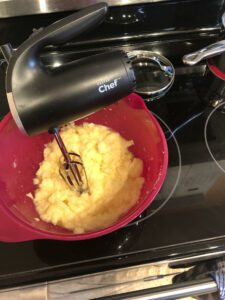
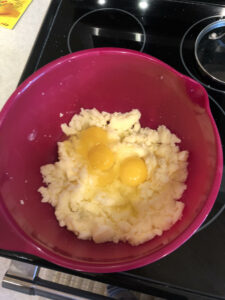
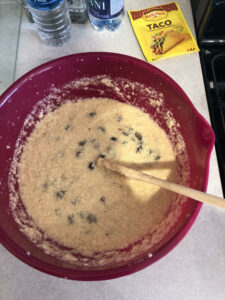
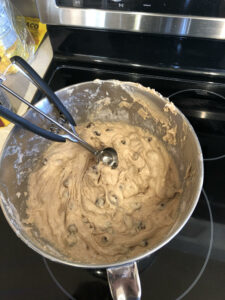
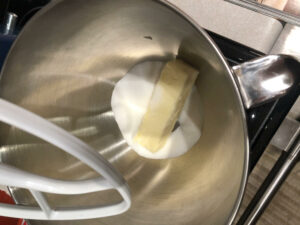
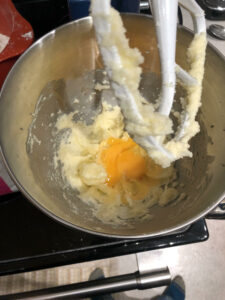
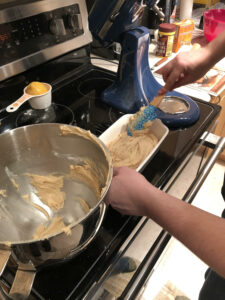
First, using my stand mixer I creamed together the sugar and warm butter till it was smooth and fluffy. Using my rubber spatula to keep the mixture off the walls of the mixer where it wouldn’t get mixed. Next I added the two eggs and beat on a higher speed till fully incorporated. Next I slowly added a cup of maple syrup and mixed on a low setting to avoid it from getting everywhere.

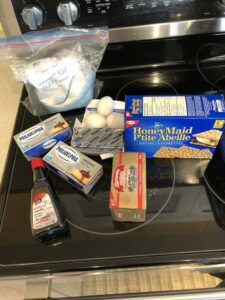
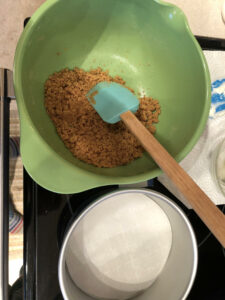
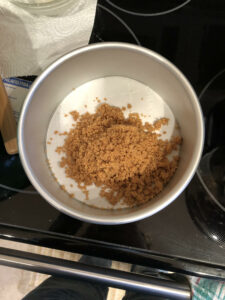
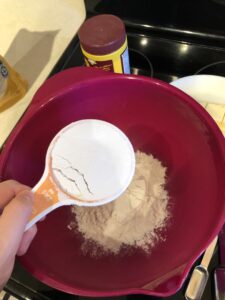
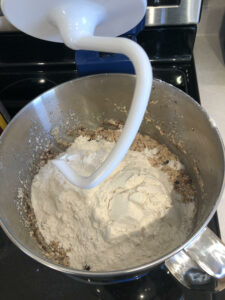
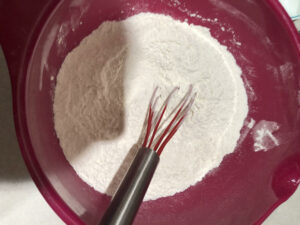
Next I mixed the dry ingredients in a separate bowl and added them to the mixer and mixed on a low speed until fully incorporated, being careful not to overmix, or this would make the pound cake too dense.

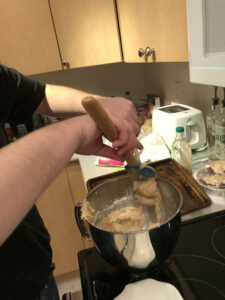
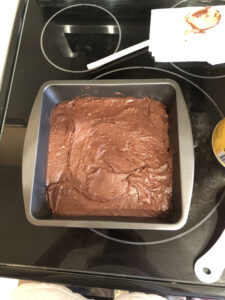
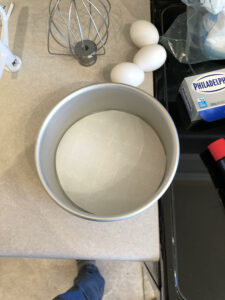
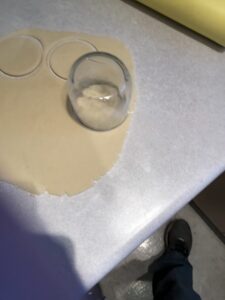
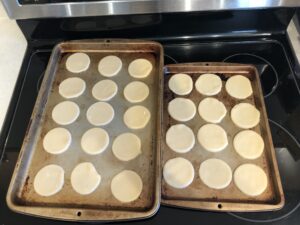
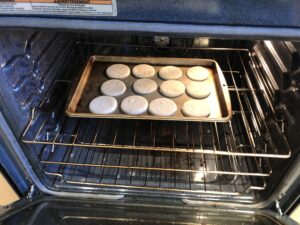
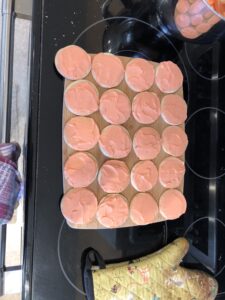
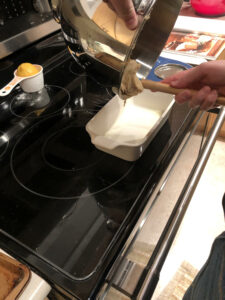
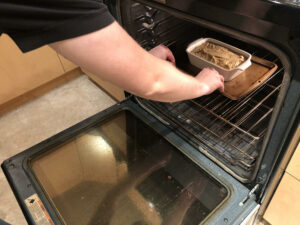
After all was mixed together I scooped the batter into the loaf pan and baked for 45 minutes.

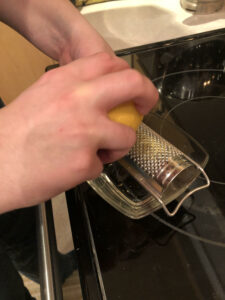
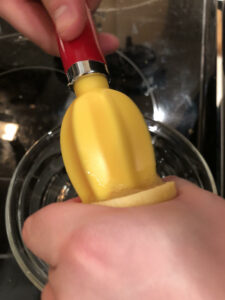
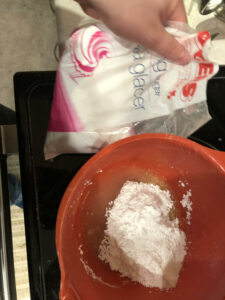
While it was in the oven I proceeded to put together the lemon glaze to go on top of the pound cake. This took a third cup of lemon juice and a tsp. of fresh lemon zest. Mixed together in a small bowl, then whisk in three quarter cup of icing sugar till all the sugar is dissolved into the lemon juice.

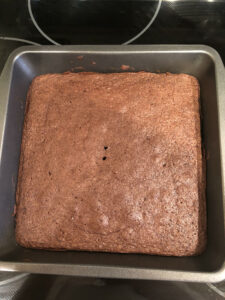
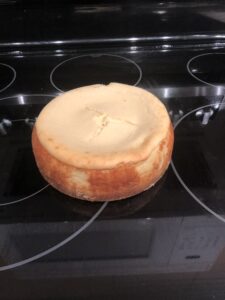
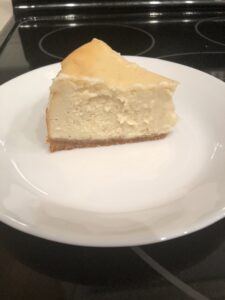
In the end the pound cake took closer to an hour and 15 minutes to bake through, though it still turned out pretty darn tasty. Sadly I forgot to take pictures of the finished product.

Thank you all for coming along with me on my baking adventure!

EdTech Weekly Response Nine

I am a little late posting this, but last week we had a presentation by one Rebecca Bathurst-Hunt.

In this she talked about adpoting inquiry into the classroom at an elementary level. I was very happy to hear about this as I think inquiry is a wonderful way for young students to learn and enjoy themselves at the same time, as they learn best when they are enjoying the content. Additionally she covered a bit about play based learning, as for Kindergarten, most of what they do is play based learning and if it works for them, why not for older kids? Of course there is a limit to how much you can let them play, as many will choose to just do 100% playing and no learning, so there needs to be a moderation of play and study time.

As for the imquiry, she said one of the best things you can do is start off learning with a question. For example, if you are learning about the ocean, ask them what they want to know about the ocean, or what are they curious about, or what they like most about it. This will allow them to shape their learning and take an active roll in how and what the lessons are about, hopefully making them more excited to learn.

Blueberry Pie

Hello once again! Second to last week for the baking blog!

You all know the drill, mental health now, dessert later!
Well! I’ve been doing well recently. My stress levels have gone up a little bit, but overall I am doing better mentally. Though, with the stress does come increased frequency of headaches and some mood swings, however, the headaches can be fixed with coffee, advil and rest, while the mood swings? Well they’re more complicated, but looking forward to baking on the weekend does help.

Now! This week I decided to bake a blueberry pie! It turned out very tasty, though as with every blueberry pie I’ve ever made, it fell apart! so sad. Anyway, let’s get into the baking!

I did try once again to make my own pie crust. I used the same recipe as when I made my drunken apple pie, however this time it didn’t turn out so well and the dough couldnt be used. I’m not sure what I did wrong, but ehh, luckily we had a box of the frozen tore bought pie crust in the freezer! After this epic failiure of mine, I took one cup of flower and a quarter cup of flour and mixed them together in a bowl.

After the sugar and flour was mixed together I then added six cups of fresh blueberries and toss until teh blueberries are adequitely covered.

After this I took some of the blueberries and filled one side of the pie dish, then but the other half on top and separated the tin from one half. I then crimped the edges of the crust and placed the pie in the oven at 375°F for 60 minutes. After the timer I took the pie out of the oven and placed it on a rack to cool for a couple hours. Then, after it cooled I cut myself a slice!

As you can see from the photo, it did fall apart a bit, but, it was quite tasty, so I’m okay with it not being perfect.
Anuway, thank you for reading anothe rinstallment in my baking blog! I hope you enjoyed and at least learned something not to do from what I did, though to be honest I myself am not really sure what I did wrong!

Thank you and see you next week!

Gluten Free Brownies

Hello once again!

This week I decided to bake some gluten free brownies! Now, they did turn out ot be very delicious, however, as you can probably guess, I must first talk about my mental state!

I’ve been doing okay recently. A few things with some personal matters have my mind on some other things and with the term coming to an end, a bunch of things are due all at once so I am quite stressed out. BUT! My weekly baking is still helping me have some time to relax every weekend which in invaluable for someone with a lot of anxiety!

Now for the brownies! Here is a link to the recipe that I used https://www.glutenfreefollowme.com/recipe/brownies/

To start, I warmed up my butter and, despite the recipe not calling for it, creamed together the butter and sugar. I then mixed in the eggs and and the vanilla to the mixture.

After this I added my cocoa powder, gluten free flour, salt and baking powder. I then mixed it really well untill it was a smooth-ish paste readu to pour into the the pan!

It was then that I realized that I had not greased the man, so I did that before addign the batter. If I had forgotten this step, I don’t think I ever would have been able to get any of the brownies out!

After this I put the pan into the oven that I had preheated to 350°F for 25 minutes. After this I pulled the pan out and stuck a toothpick into the centre and some Brownie stuck to it so I put it back in for another 5 minutes. When I pulled it out this time and checked with a toothpick, it came out clean. IT WAS DONE! I then placed it on a rack too cool, and cut the brownies into pieces. Let me tell you, they were delicous! Despite the mild chalky taste at the end, they were very very good.

Thank you once again for reading! Tune in next week for another delicious treat.

EdTech Weekly Response Eight

This week we had a wonderful Zoom class with Chantelle from BCEd Access.

What stuck with me the most from her talk, is that as a parent, she believes that one of the most important things for a teacher to do at the beginning of the year is to reach out to the parents of thir students to see if there is anything they parents would like them to know about the kid. Additionally, the first email home to the parents should be about something good that happened, for example, “Your son _______ was so helpful today in our ______ lesson.” This will hopefully start you, the teacher, on the right foot with your parents. Good communication with the parents is important as it shows that the teacher truly cares about the student and the family. The final point that stuck with me was that we should confer with our students about their IEP’s, so long as the parent is consenting to their child knowing about their IEP and its contents.

Cheesecake!

So this week I decided to make my favourite dessert cheesecake.

As always, mental health!
This week I have been doing fairly well, though I have been fairly stressed with everything, like all the things due soon. But anyway, ON TO THE BAKING!

So, first off, what goes into making a cheesecake? Well I’m glad you asked!
In a cheesecake we use three blocks of cream, some gram crackers, butter, sugar, three eggs and I like to put in just a splash of vanilla.

So I started by putting my cream cheese on the counter to finish warming up, then whipped it with the sugar in my stand mixer, then added some vanilla and mixed it in. After this was all mixed together I added the eggs one at a time, though I think I mixed them in on too high of a setting with my stand mixer so there was a little bit more air in the mixture than I intended so it had to be tamped quite abit to get the air out once in the pan. Though I am getting a little ahead of myself here, so next, on to the the crust.

First I took about one and a quarter cups of gramcrackers and put them into my food processor and blended them up. I then added a quarter cup of melted butter and continued to blend until it was a crumbly mixture. After this I poured the mixture into my cheesecake pan inwhich I had placed a circular piece of parchment paper in to prevent sticking. I then tamped the mixture into a layer on the bottom of the pan. Unfortunately I forgot to take a photo or vido of this.

After this was done I poured the cheese mixture into the pan and tapped the pan to remove excess air.

After this I put the cake into the oven that was preheated to 350°F and baked for 45 minutes. After I pulled the cheesecake outm it was then that I realized I had put too much batter into the pan and the centre of the cheesecake was not 100% cooked and therefore would not completely set. But, if I put it back into the oven it would surely burn on the edges, so I cut my losses and let it cool. After anout 15 minutes sitting on the counter I put the cheesecake into the fridge to finish cooling. Once complely cooled, I removed the cheesecake from the pan and cut myself a slice!

Now, I have not made a cheesecake in over two years, so I am not surprised that it did nto turn out as expected, however, I learned some important lessons! 1: Don’t mix in the eggs too quickly or you will add too much air to the mixture. 2: Don’t put so much batter in the pan! or else it wont bake properly!!!!

Anyway! Thank you for reading another installment in my weekly baking adventure, tune in next week for Gluten Free Brownies!

EdTech Weekly Response Seven

This week I attended a talk done by author and high school teacher Trevor Mackenzie. In his hour talk he shared his experiences with inquiry-based learning, though what stuck out most to me was his words on being a Constructivist Educator. The main thought behind this is that “the learner is an active member and contributing member of creating the learning and environment,” meaning that they should be just as much a part of the creation of their education as the teacher. I like the fact that this style of education allows the student to know better how they are being assessed and have a greater say in what they do to meat the curriculum goals set out in front of them and allows for the student to have valuable conversations with their teacher about their own education. This style of teaching just overall seems to be beneficial for students and can allow for more flexibility in how they do their work and how they are assessed.

Gluten Free Sigar Cookies with Buttercream Frosting

We’re back! Happy Halloween everyone! For this week I made gluten free sugar cookies with buttercream frosting.

Before we get into how I made them, my mental stae this week has been fairly decent and mostly stable. School of course has been the most stressful for me recently as there have been a lot of diferent things do all at once. However, I have been using many diferent ways to reduce my stress and anxiety and baking has been a very effective tool.

To start off, here is a link to the recipe I got off of allrecipies.com.
https://www.allrecipes.com/recipe/240496/gluten-free-sugar-cookies/

Now, to start off, I had never done gluten free baking before, but I thought since a couple people in our class can’t have gluten, I’d try my hand at something they could eat! My first step was going to the grocery store to find some gluten free flour, and get the few othe ringredients I did not yet have in my house. The first step for making the dough was to mix the flour, baking powder and salt together. Then to cream the sugar in with the butter and mix in some vanilla extract.

After this, the two eggs are mixed in one at a time until smooth. The wet and dry ingredients are then combined/ The though is then formed into a ball, wrapped in saran wrap and placed in the fridge for at least an hour. This gave me the time to  go out and purchase the cream cheese I forgot to get for the icing. After an hour has passed, I took the dough out of the fridge and cut it into four sections and left it on the counter to warm up a bit. Afer it was warmed, I pre-heated the oven to 325°F and rolled the dough on the counter and cut the cookies, then placed them on a baking sheet and out into the oven for around 10 minutes, or until the edges of the cookies begin to brown.

Once they are done, I took the pan out of the oven and left them to cool for a couple minutes as they would fall apart if I tried to take them off right away. After cooled slightly, the cookies are removed from the sheet adn placed on a wire rack to cool completely. While cooling, I started to make the icing. I used my stand mixer for this. I mixed the cream cheese, butter and vanilla until smooth, then beat in the confectioners sugar. Once this was mixed completely and I was happy with the taste, to make the cookies fit the halloween theme I dyed the buttercream orange with red and yellow food colouring.

Once the icing was ready I then put it on some ofthe cookies! They looked good, and let me tell you, they were delicious!

Thanks for reading! Tune in next week for another tasty treat!

Boiled Rasin Cookies

This week, I was having trouble picking out what I wanted to bake, so I phoned my father and he said “why not boiled rasin cookies!” Now, I’d never heard of these before, but he told me that they were his favourite cookie growing up, so I decided to give them a try.

As alway, I will start of with a shot blerb on my mental health this week. I have been doing okay, though to be honest I have been a little down this past week, though I am not too sure of the reasons why.

Here is a link to the recipie if you would like to try for yourself  https://www.food.com/recipe/grandmas-boiled-raisin-cookies-196432

Now for the cookies! To start, I put a pot of water on to boil. Once it was boiling I added two cups of rasins to the water and let it boil for 5 minutes. After this I removed the rasins from the water and put them both to the side to cool. And don’t forget to preheat your oven to 400°F.

From here I then creamed the sugar with the butter. The recipie calls for margerine, and then in the instructions it says shortening, So I think the original reecpie called for shorthening, but I decided to sub this out for butter, and it still turned out! After this I mixed in three eggs.

Once the rasins had cooled I put them into the butter and egg mixture and added one cup of the water I used to boil the rasins.

After this I transfered the mixture to my stand mixer adn added the baking powder, salt, cinnimon and allspice, mixed for a but then added the flour. And of course swapped the whisk attachment for a dough hook as I was unsure how think the cookie dough would be when I was done. After all the ingredients were mixed in, I began to drop the batter onto a greased baking sheet. If you try this recipie for yourself, dont worry if the batter is a tad thin, as long as it’s not runny you should be fine.

Once you are ready, place the cookie sheet in the oven and cook for about 10 minutes, then pull the sheet out and remove from baking sheet to cool.
And there you have it! Boiled Rasin Cookies! Absolutely delicious.

« Older posts